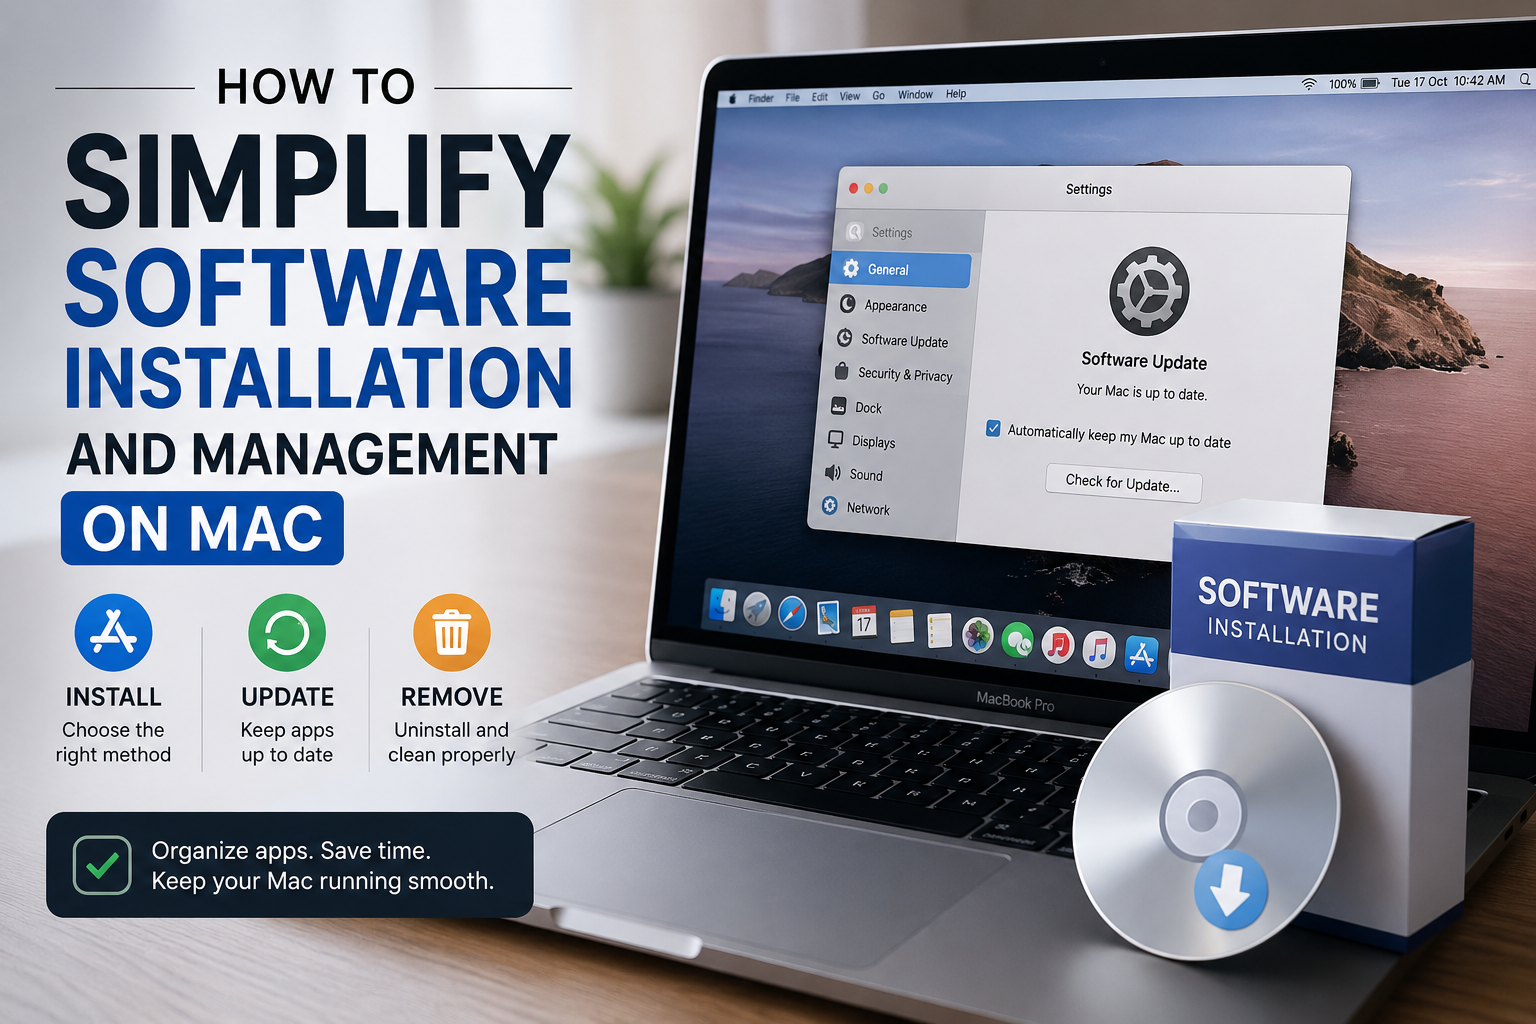
Abstract
Installing apps on a Mac usually seems like a straightforward process. The steps seem obvious: download the app, open the .dmg file, drag it to the Applications folder, and get started. But as the number of apps grows, so do updates, leftover files, different installation methods, and questions about what can actually be safely removed. That’s why effective app management depends on a clear approach to installing, updating, and removing them. For most users, it’s sufficient to combine the Mac App Store, official developer websites, and macOS’s built-in features. For those who frequently work with the command line or install many tools, the package manager Homebrew can play an additional role. The key is to understand which task each method is intended for.
Choose the Right Installation Method
Mac software installation doesn’t necessarily have to follow the same process for every application. If the desired app is available in the Mac App Store, this is often the simplest option for the average user. You can find, install, and update apps from a single interface, and purchased apps are linked to your Apple Account. However, the App Store doesn’t contain every app. Some developers distribute macOS apps directly through their own websites. In such cases, the user typically receives a .dmg file or another installation package. That means they must verify the source themselves before downloading.
When Homebrew makes sense
It may be more convenient for command-line tools and software that you need to install regularly. This open-source package manager for macOS and Linux lets you install, update, and remove packages via the Terminal. Homebrew uses formulas for command-line tools and casks for graphical applications. Here, the traditional process of software installation on a Mac can become much more streamlined. Instead of searching for each installer separately, users can work with a centralized set of packages and commands such as:
brew install,
brew update,
brew upgrade,
brew uninstall.
Homebrew also lets you view installed packages and search for available software. If you want to understand how Homebrew works on a Mac, what types of programs it can install, and how a formula differs from a cask, learn more to quickly get a handle on the basic concepts and commands. This is especially helpful before using the Terminal for the first time, since Homebrew isn’t a replacement for the App Store for all users. For someone who only needs a few everyday apps, the graphical installation method may still be simpler. For developers and experienced users, however, a package manager can reduce the number of manual steps and make your toolset more reproducible. Homebrew also supports installing graphical apps via cask, so its capabilities aren’t limited to the command line.
Keep Updates Under Control
App updates and macOS updates are not the same thing. The App Store can manage app updates, while apps downloaded directly from developers’ websites may have their own update mechanisms. Apps installed via Homebrew are updated using package manager commands. That’s why, when managing Mac apps, you should periodically check not only for system updates but also for apps installed from other sources. Doing so helps ensure that older versions don’t go unnoticed.
Avoid unnecessary manual work
Don’t download a new installer every time an app needs an update if the app itself already has a built-in update mechanism. Similarly, there’s no need to install a separate package manager for every type of app. It’s easier to establish a rule in advance:
- The App Store, for apps available there;
- the official website, when the developer distributes the app independently;
- Homebrew, when it’s more convenient to manage packages via the Terminal.
Make Uninstallation Part of Management
Uninstalling an app is just as much a part of managing Mac applications as installing it. Dragging an app from the Applications folder to the Trash usually removes the app itself, but associated files remain in other user directories. This doesn’t mean you have to search for every leftover file manually.
- For regular applications, start with the standard uninstallation and then check if any associated data is still needed.
- If an app has its own uninstaller, use that one. Especially when the developer explicitly recommends this removal method.
- Homebrew has separate commands for removing installed formulae and casks. The package manager also automatically performs some cleanup of old versions and the cache, provided its default settings have not been changed.
Keep Applications Organized
If you no longer use an app, you can delete it instead of leaving dozens of unnecessary programs on your system.
Pay special attention to apps that launch automatically. On macOS, you can view some of these settings in System Settings. Specifically, in the General → Login Items section. Disabling unnecessary autostart items, you can reduce the number of apps that launch when the system starts.
Organized management also means that you keep track of where apps come from. If one app was installed via the App Store, another from the developer’s website, and a third via Homebrew, remember where each one came from. This simplifies finding updates and helps avoid confusion during uninstallation.
Conclusion
Convenient app management on a Mac doesn’t require a complicated system. Use the App Store when it’s appropriate. Download apps from official sources. Reserve Homebrew for packages and scripts where command-line management truly saves time. Regular updates, timely removal of unnecessary apps, and knowing where each app was installed from—all of this makes software installation and management on a Mac much more predictable.